
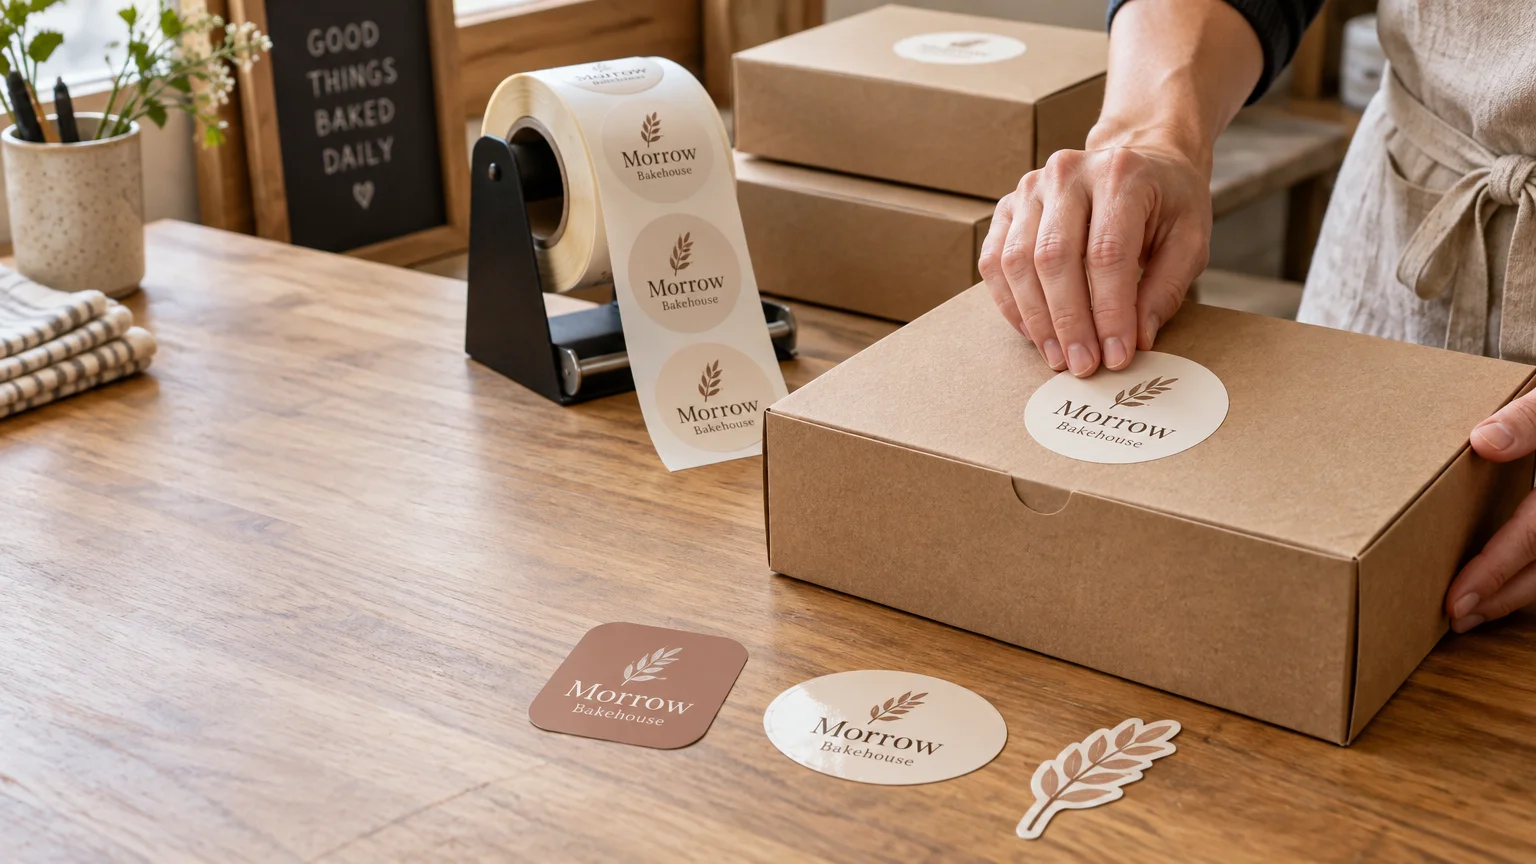
TLDR: Choose custom stickers for bakery boxes by starting with the sticker’s job. Use a simple logo sticker for branding, a suitably shaped seal for closing a lid, and a separate product-information label when ingredients, allergens, dates, or flavor details must be communicated. Test the exact sticker on the real box under normal bakery conditions. For repeated packing, rolls usually support a faster peel-and-apply workflow, while sheets work well for smaller batches and multiple designs. Base the order quantity on actual box usage, labels per box, artwork life, and reorder lead time—not only the lowest unit price.
The best-looking custom stickers for bakery boxes can still be the wrong purchase if employees struggle to peel them, the adhesive does not suit the carton, or half the order becomes obsolete after a seasonal menu change. Shape and finish matter, but the packaging workflow should make the final decision.
Before comparing materials or prices, identify where the sticker will go, what information it must carry, how quickly it must be applied, and how long the design will remain useful. Those answers determine whether you need an evergreen logo sticker, a closure seal, a product label, or a combination of several smaller labels.
First define the sticker’s job
Bakery box stickers commonly perform three different jobs. Treating them as interchangeable can produce an awkward design or an inefficient packing process.
- Branding stickers display a bakery name, logo, website, social handle, or short message. They can often remain in inventory through menu changes.
- Closure seals bridge a lid seam or secure tissue, a bag, or a box flap. Their shape and dimensions must work with the package’s opening motion and the amount of overlap available.
- Product-information labels identify the item and may carry ingredients, allergens, handling instructions, dates, quantities, or other required information. The appropriate content depends on the product, how it is packaged and sold, and applicable rules.
One large sticker can sometimes handle all three jobs, but combining them reduces flexibility. If a brownie flavor changes while the logo remains the same, the bakery may have to discard otherwise usable branded labels. Separating an evergreen logo sticker from a smaller flavor or information label often makes inventory easier to manage.
Start by writing a one-sentence job description: “This sticker brands the top of every pastry box,” or “This label identifies the cookie variety and carries the required product information.” If that sentence contains several unrelated jobs, consider using two labels.
Match the label to the box surface and handling conditions
“Bakery box” can describe uncoated paperboard, kraft board, coated cartons, grease-resistant stock, clear plastic clamshells, or boxes with film windows. A label that works on one surface should not automatically be assumed to work on another.
Food-packaging labels may encounter cold, heat, moisture, and changing application conditions, so material and adhesive selection should be based on the actual use rather than appearance alone. UPM Adhesive Materials provides an overview of food-packaging label application conditions and emphasizes matching the construction to the application.
Ask the printer or label supplier about the exact combination of face material, adhesive, box substrate, application temperature, and later storage conditions. Applying a label to a dry room-temperature carton is a different situation from applying it to a chilled plastic container or exposing it to condensation after application.
Run a small real-package test before committing to a large quantity. Apply samples to production boxes using the same method employees will use. Check them immediately, after storage, and after realistic handling or delivery. Inspect the edges, the lid seam, printed legibility, and whether opening the package creates an acceptable tear or peel.
Keep labels on the outside of the package unless the exact label construction has suitable documentation for its intended food-contact use. FDA treats food-contact substances and packaging as a specific oversight area, and suitability depends on the substance, intended use, and packaging construction. FDA’s food ingredients and packaging overview explains the broader regulatory context.
How to choose custom stickers for bakery boxes by shape
Choose the shape after selecting the placement. A shape that looks balanced on a screen can crowd a narrow front panel or interfere with a window when placed on the real package. Measure the usable flat area and print a paper sample at actual size before ordering. The broader small-business packaging sticker size guide explains how to evaluate package dimensions and sticker coverage.
| Placement or job | Practical shape direction | What to check |
|---|---|---|
| Centered on a box lid | Circle, square, oval, or compact custom shape | Visual balance, window clearance, and room around the logo |
| Across a lid seam | Rectangle, oval, or elongated custom shape | Enough contact area on both sides and acceptable opening behavior |
| Narrow front or side panel | Horizontal rectangle or slim oval | Panel height, fold lines, and readable text size |
| Flavor or date identification | Small rectangle, circle, or simple die-cut shape | Fast recognition, writing or printing space, and inventory complexity |
| Clear clamshell branding | Compact logo shape or clear label | Contrast against the product and visibility of label edges |
Simple shapes can also make fast application easier because their orientation is immediately obvious. Intricate contours may be appropriate for a prominent brand sticker, but they can be slower to align and may create narrow points that deserve extra testing. For a closure seal, prioritize reliable placement across the seam over an elaborate silhouette.
Select a finish for lighting, handling, and brand presentation
Finish is partly an aesthetic choice, but the display environment changes how the design reads. Matte surfaces usually produce a subdued look and may reduce distracting reflections under bright display lighting. Gloss can make color and contrast appear more pronounced, but reflections may be visible from some angles. Clear labels can let the package show through, although printed contrast and the visibility of the label edge depend on the container and artwork.
Natural-looking paper can complement kraft cartons or an understated bakery identity. Do not assume that a natural-paper appearance also provides resistance to moisture, grease, or refrigeration. Those are material-and-adhesive performance questions that need confirmation for the exact construction.
The decision is easier when you place finish samples on a filled package and view them where customers will see them: under display lights, inside a refrigerated case, at a pickup counter, or in delivery packaging. For a deeper visual comparison, see matte versus gloss stickers in practical use.
Application speed determines the best format
A sticker that takes only a few extra seconds to peel and align can become a bottleneck when hundreds of boxes are packed. Test application while wearing any gloves normally used during packaging, and include the time needed to find the next design or confirm the correct flavor.
| Format | Usually fits | Workflow considerations |
|---|---|---|
| Roll labels | Repeated application of the same design or an organized series of labels | Easy to stage near a packing station and compatible with some dispensers; confirm roll direction and orientation |
| Sheets | Smaller runs, several designs, or work divided among a few stations | Easy to store and count, but peeling speed depends on layout, spacing, and cut shape |
| Individual stickers | Promotional inserts, handouts, or stickers intended for customers to keep | Convenient as separate pieces but generally less efficient for repetitive box labeling |
Sticker Lots distinguishes rolls, sheets, die-cut stickers, and kiss-cut formats in its general format guidance and presents roll labels as a practical option for repeated packaging application. The guide to sticker rolls and custom roll labels covers the workflow differences in more detail.
If a roll will be used with a dispenser, ask the selected supplier how the design will be oriented and what roll specifications are available. Roll direction and dispenser compatibility are vendor-specific production details rather than universal assumptions; one supplier’s label FAQ, for example, treats orientation and dispenser use as order specifications.
Calculate quantity from boxes packed, not stickers purchased
Begin with expected package usage for the period the artwork will remain valid. Then account for the number of each label used per package. A bakery using one logo seal and one flavor label per box consumes two labels, but it does not necessarily need equal quantities of every flavor.
Use this planning formula: expected packages during the inventory period × labels of that design per package = expected label usage. Then add an operating cushion chosen from your own history for setup loss, damaged labels, sampling, forecasting error, and unexpected demand. There is no universal waste or safety percentage.
For a transparent hypothetical example, suppose a bakery expects 900 boxed orders per month for four months. If each order averages 1.1 boxes and every box receives one evergreen logo sticker, planned logo usage is 900 × 4 × 1.1, or 3,960 stickers, before the bakery adds its own operating cushion. Flavor labels should be calculated separately using the forecast for each product.
A larger order may reduce the quoted unit price, but the apparent saving disappears if the bakery changes its logo, address, menu, packaging size, or product information before using the labels. Bulk ordering works best when the design is stable and consumption is predictable. The bulk custom sticker ordering guide provides a broader framework for balancing unit cost against inventory risk.
Separate evergreen and seasonal inventory
Evergreen branding generally supports a longer inventory window than holiday artwork, limited flavors, promotional codes, prices, or dated information. Dividing the label system into stable and variable components lets the bakery order the stable component in greater depth while buying shorter runs of changing labels.
- Order evergreen logo labels around dependable baseline box usage.
- Order seasonal artwork around the realistic selling window rather than annual volume.
- Track each flavor or SKU separately when demand differs substantially.
- Avoid printing information that is likely to change unless it must appear on the label.
- Store labels according to the supplier’s instructions and rotate older usable inventory forward.
This approach also protects against package changes. A compact logo sticker may work across several box sizes, while a large combined product label can become unusable when the bakery changes carton suppliers or introduces a smaller package.
Set a reorder point around real usage and lead time
Do not wait until the final roll reaches the packing table. Record the number of labels consumed during a normal week, a busy week, and a seasonal peak. Then confirm the supplier’s current production estimate, proofing process, shipping time, and any delay involved in approving revised artwork.
A practical reorder-point calculation is average daily usage × total replenishment time, plus an operating cushion selected by the bakery. Total replenishment time should include internal artwork approval, proof review, production, shipping, and receiving—not only the advertised print time.
- Count unopened rolls, sheets, or packs consistently.
- Estimate usage from boxes packed and labels used per box.
- Confirm whether the artwork and information will remain valid through the next order period.
- Check upcoming holidays, catering jobs, promotions, and menu changes.
- Review the supplier’s current lead time and order specifications.
- Reorder while enough usable inventory remains to cover normal demand and a delay appropriate to the business.
A branding sticker may not satisfy food-labeling obligations
Decorative branding and regulatory product labeling are different tasks. FDA states that major food-allergen labeling requirements apply to retail and food-service establishments that package, label, and offer food for consumption. It distinguishes those products from food placed in a wrapper or box after a customer orders it at the point of purchase.
FDA identifies nine major food allergens: milk, egg, fish, crustacean shellfish, tree nuts, peanuts, wheat, soybeans, and sesame. When a “Contains” statement is used, FDA says it must appear immediately after or next to the ingredient list; that statement does not replace other applicable labeling requirements. FDA’s food allergy guidance provides the current federal overview.
The requirements that apply to a particular bakery product can depend on what is sold, how it is packaged, and where and how it is offered. State and local rules may also matter. Confirm applicable requirements with the relevant regulator or a qualified adviser rather than assuming a logo seal or informal flavor sticker is sufficient.
Make the purchase decision at the packing table
The most useful bakery sticker test is not a digital mockup. It is a short packing trial using the real box, real placement, and normal handling conditions. Confirm that the sticker fits, peels cleanly from its backing, can be aligned at the required speed, remains readable, and performs as expected through storage and delivery.
Once the construction passes that test, calculate separate quantities for evergreen branding, closure seals, and variable product labels. That gives the bakery a sticker system built around actual box consumption and reordering flexibility instead of a single oversized print run that may not match the next menu or season.